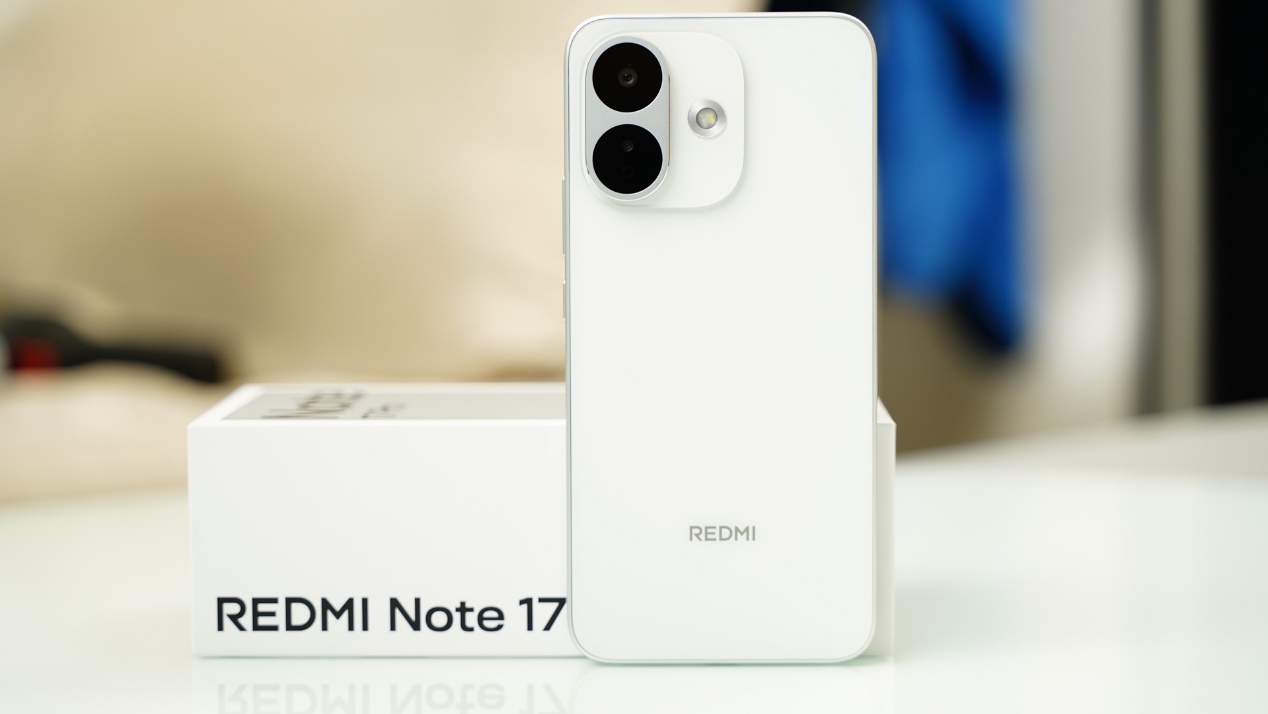
平地干拔阴山“英雄坡”! 岚图发布中国首款全地形智能底盘“虎踞”
2026-07-30
在JSP中数据库连接有这二种方式,直接连接的方式 :首先得有JDBC驱动(JDBC for Mysql等),下载到本磁盘解压,在环境变量classpass中加上它的地址,在jdk与服务器的lib中也加上JDBC的jar文件.好了准备工作到此,现在开始以 java直连的方式进行. catch(SQLException sqle)
eg1:
package bean;
import java.io.*;
import java.sql.*;
import java.util.*;
public class Db{
private String url;
private Connection connection;// 数据库连接
private Statement statement;// SQL表达式
public Db()
{
url="jdbc:mysql://localhost:3306/databaseName?user=userNamer&password=password";
connection=null;
statement=null;
}
public void connect()
{
try{Class.forName("com.mysql.jdbc.Driver").newInstance();}catch(Exception e){System.out.print("Sorry01");}
try
{connection=DriverManager.getConnection(url);
statement=connection.createStatement(ResultSet.TYPE_SCROLL_SENSITIVE,ResultSet.CONCUR_UPDATABLE);}
catch (SQLException sqle){System.out.print("Sorry02");}
}
public ResultSet executeQuery(String query)
{
ResultSet rs=null;
try
{
rs=statement.executeQuery(query);
}
catch(SQLException sqle)
{System.out.print("Sorry03");}
return rs;
}
public void executeUpdate(String command)
{
try
{
statement.execute(command);
}
catch(SQLException sqle){System.out.print("Sorry04");}
}
public void closeConn()
{
try{
connection.close();
}
{
System.out.print("Sorry05");
}
}
}
//Sorry01-05处为自定义错误代码...
第二种方式是采用数据库连接池技术
数据库连接池的第一步得配置数据源在TOMCAT 6.0 的Webapps 下的 conf文件夹下的context.xml文件
content.xml文件如下:
| <!-- The contents of this file will be loaded for each web application --> <Context path="" docBase="root" debug="0" reloadable="true" crossContext="true"> <!-- Default set of monitored resources --> <WatchedResource>WEB-INF/web.xml</WatchedResource> <!-- Uncomment this to disable session persistence across Tomcat restarts --> <!-- <Manager pathname="" /> --> <!-- Uncomment this to enable Comet connection tacking (provides events on session expiration as well as webapp lifecycle) --> <!-- <Valve className="org.apache.catalina.valves.CometConnectionManagerValve" /> --> <!-- maxActive: Maximum number of dB connections in pool. Make sure you configure your mysqld max_connections large enough to handle all of your db connections. Set to 0 for no limit. --> <!-- maxIdle: Maximum number of idle dB connections to retain in pool. Set to -1 for no limit. See also the DBCP documentation on this and the minEvictableIdleTimeMillis configuration parameter. --> <!-- maxWait: Maximum time to wait for a dB connection to become available bsp; in ms, in this example 10 seconds. An Exception is thrown if #p#分页标题#e# |
| eg2: package bean; import java.io.*; import javax.naming.*; import javax.sql.*; import java.sql.*; public class DBuse{ private Connection conn=null; private Statement stmt=null; private javax.sql.DataSource ds=null; private Context ctx=null; public void connect() { try{ ctx=new InitialContext(); ds=(javax.sql.DataSource)ctx.lookup("java:comp/env/jdbc/myweb"); conn=ds.getConnection(); stmt=conn.createStatement(ResultSet.TYPE_SCROLL_SENSITIVE,ResultSet.CONCUR_UPDATABLE); }catch(Exception e) {e.printStackTrace();} } public ResultSet executeQuery(String query) { ResultSet rs=null; try { rs=stmt.executeQuery(query); } catch(SQLException sqle) {System.out.print("Sorry03");} return rs; } public void executeUpdate(String command) { try { stmt.executeUpdate(command); } catch(SQLException sqle){System.out.print("Sorry04");} } public void closeConn() { try{ conn.close(); } catch(SQLException sqle) { System.out.print("Sorry05"); |
评论 {{userinfo.comments}}
{{child.content}}

 {{money}}元


{{question.question}}
提交