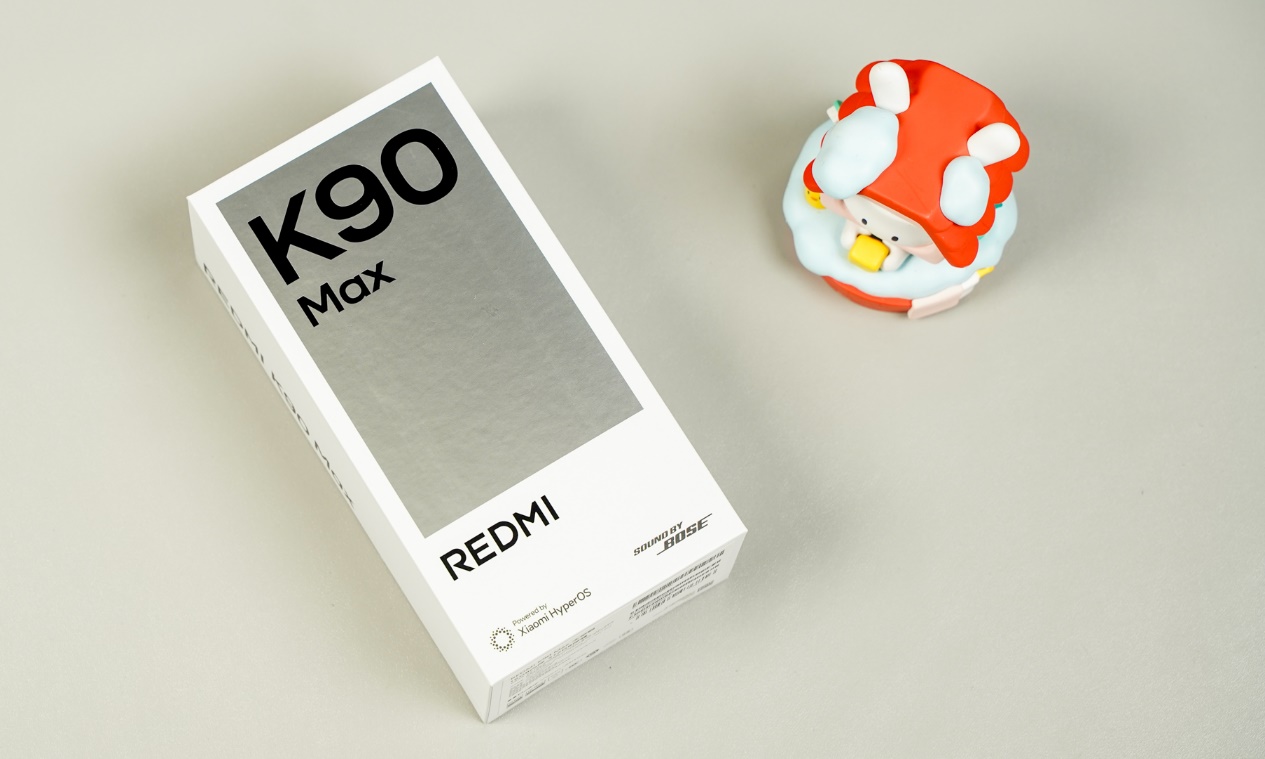
TCL发布Q系列旗舰回音壁:打破海外垄断,高端影音迎来中国声音
2026-07-27
要实现脚注,我们需要下列元素:
- <script type="text/javascript">
- // 说明:用 Javascript 和 CSS 实现脚注(Footnote)效果
- // 作者:CodeBit.cn ( http://www.CodeBit.cn )
- var footNotes = function(){};
- footNotes.prototype = {
- footNoteClassName : "footnote", // 脚注的 className
- footNoteTagName : "span", // 脚注的标签名
- footNoteBackLink : " [back]", // 返回链接
- format : function(contentID, footnoteID)
- {
- if (!document.getElementById) return false;
- var content = document.getElementById(contentID);
- var footnote = document.getElementById(footnoteID);
- var spans = content.getElementsByTagName(this.footNoteTagName);
- var noteArr = [];
- var note = 0;
- var elContent;
- var len = spans.length;
- for (i=0; i<len; i++)
- {
- note ++;
- if (spans[i].className == this.footNoteClassName)
- {
- // 获取脚注内容
- elContent = spans[i].innerHTML;
- noteArr.push(elContent);
- // 创建一个指向脚注的链接
- var newEle = document.createElement( "a" );
- newEle.href = '#ftn_' + footnoteID + '_' + note;
- newEle.title = "show footnote";
- newEle.id = 'ftnlink_'+footnoteID+'_' + note;
- newEle.innerHTML = note;
- // 清空原有内容
- while (spans[i].childNodes.length)
- {
- spans[i].removeChild( spans[i].firstChild );
- }
- spans[i].appendChild( newEle );
- }
- }
- // 创建注释列表
- var ul = this.__buildNoteList(noteArr, footnoteID);
- footnote.appendChild(ul);
- },
- __buildNoteList : function(notes, noteID)
- {
- if(!notes || notes.length < 1) return;
- var ul = document.createElement('ul');
- ul.className = this.footNoteClassName;
- var li;
- var len = notes.length + 1;
- for(i=1; i<len; i++)
- {
- li = document.createElement('li');
- li.id = "ftn_"+noteID+"_"+i;
- li.innerHTML = notes[i-1];
- // 创建【返回】链接
- var link = document.createElement("a");
- link.href = "#ftnlink_" + noteID + "_" + i;
- link.innerHTML = this.footNoteBackLink;
- li.appendChild( link );
- ul.appendChild( li );
- }
- return ul;
- }
- };
- </script>
其中:
- <div id="article1">
- CSS <span class="footnote">CSS 是 Cascading Style Sheet 的缩写。译作「层叠样式表单」。是用于(增强)控制网页样式并允许将样式信息与网页内容分离的一种标记性语言。</span>
- </div>
- <div id="artnotes1" class="footnoteHolder"></div>
- <script type="text/javascript">
- var footnote = new footNotes();
- footnote.format('article1','artnotes1');
- </script>
如果你想自定义一些内容,可以用下面的方式:
Javascript:
- <script type="text/javascript">
- var footnote = new footNotes();
- footnote.footNoteClassName = "footnote2";
- footnote.footNoteTagName = "em";
- footnote.footNoteBackLink = " [back «]";
- footnote.format('article1','artnotes1');
- </script>
评论 {{userinfo.comments}}
{{child.content}}

 {{money}}元


{{question.question}}
提交